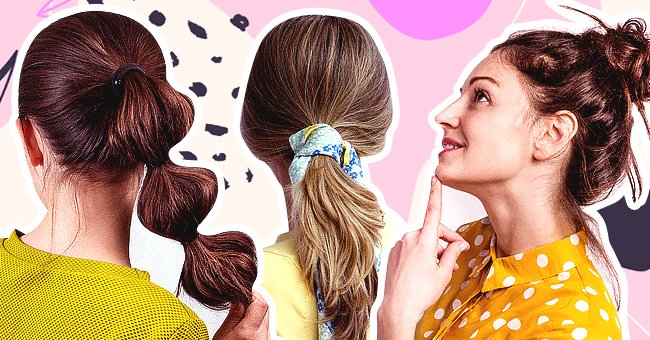
5 Easy Hairstyles You Can Do in Less Than 5 Minutes
Bad hair days can have one frustrated, especially if you need to go somewhere in a hurry. We have listed five easy-to-do hairstyles that you can do in just five minutes.
Even though you do not need to be anywhere in a flash, we have got you covered. From a double dutch hairstyle to an easy crown braid, you have multiple style options to choose from.
If you have not tried the styles before, they may take a few minutes of your time. Marie Claire compiled a comprehensive list of YouTube tutorials for each hairdo.
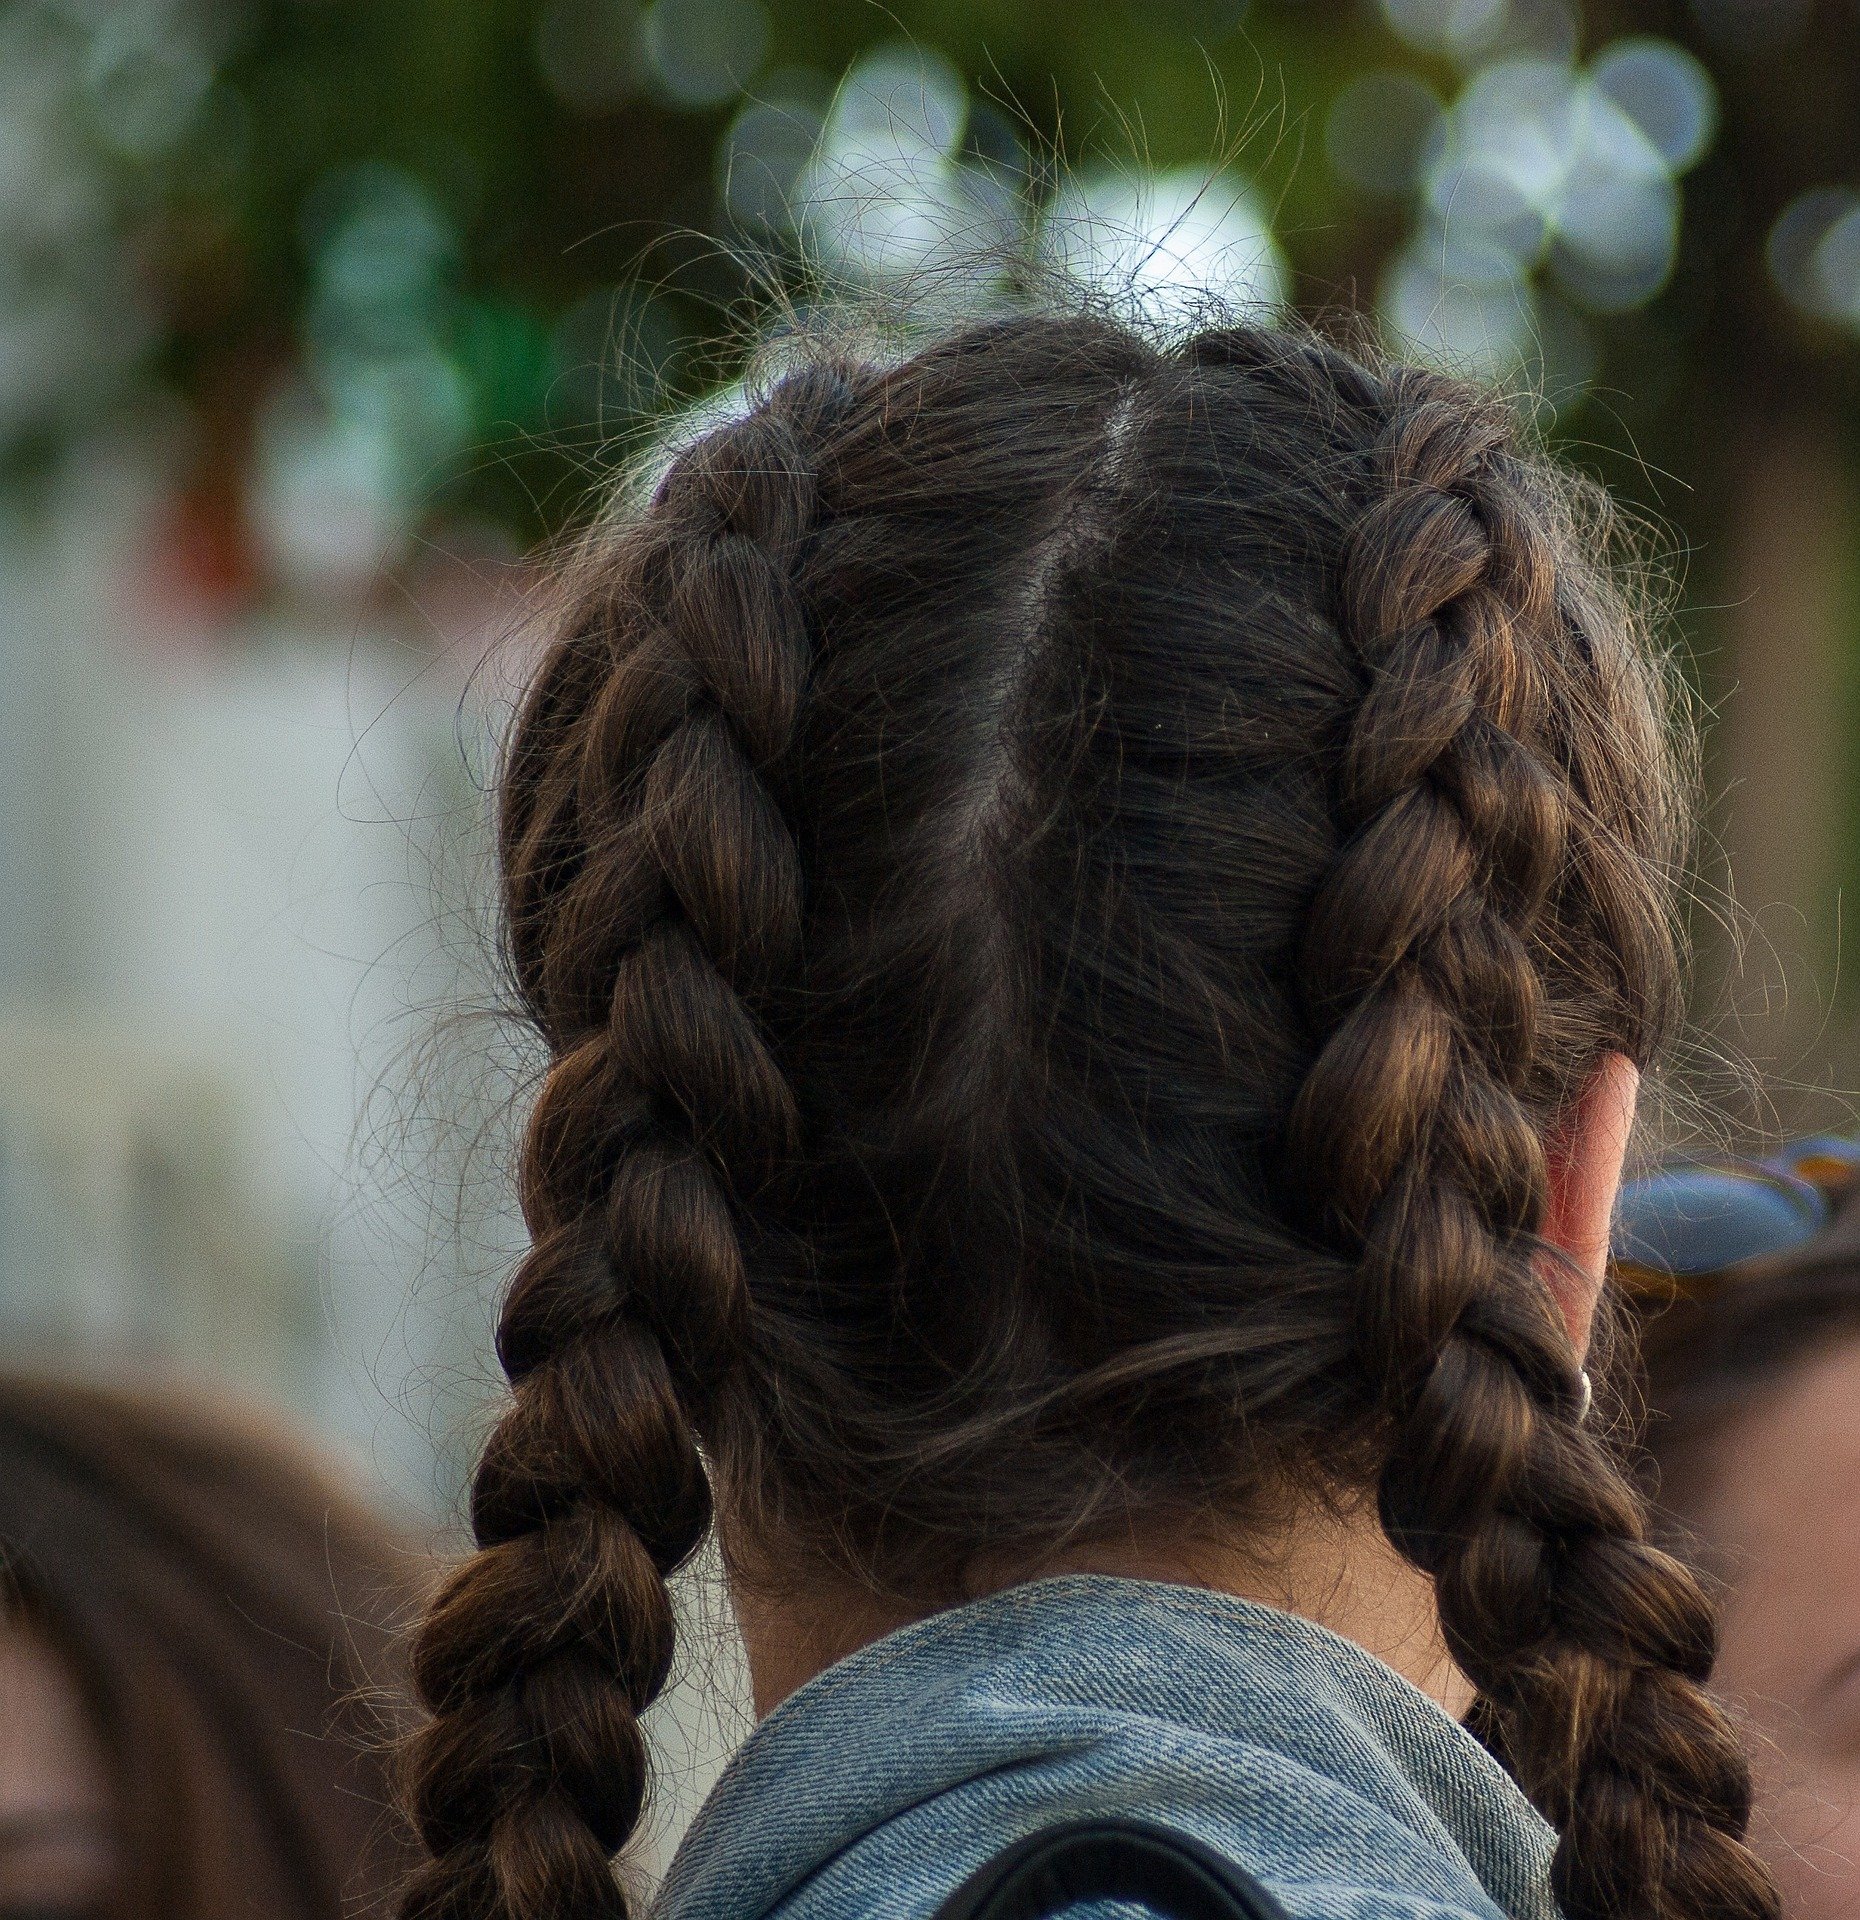
Pictured - A Double Dutch hairstyle | Source: Pixabay
DOUBLE DUTCH BRAIDS
Loose Dutch Braids – A vlogger shared the double dutch look can be done with or without hair extensions. You start with freshly washed hair, part it in the middle, and secure it to be out of the way.
You then take a small section from the top and separate it into a three-strand braid and start braiding. While going down the braid, add more hair into it.
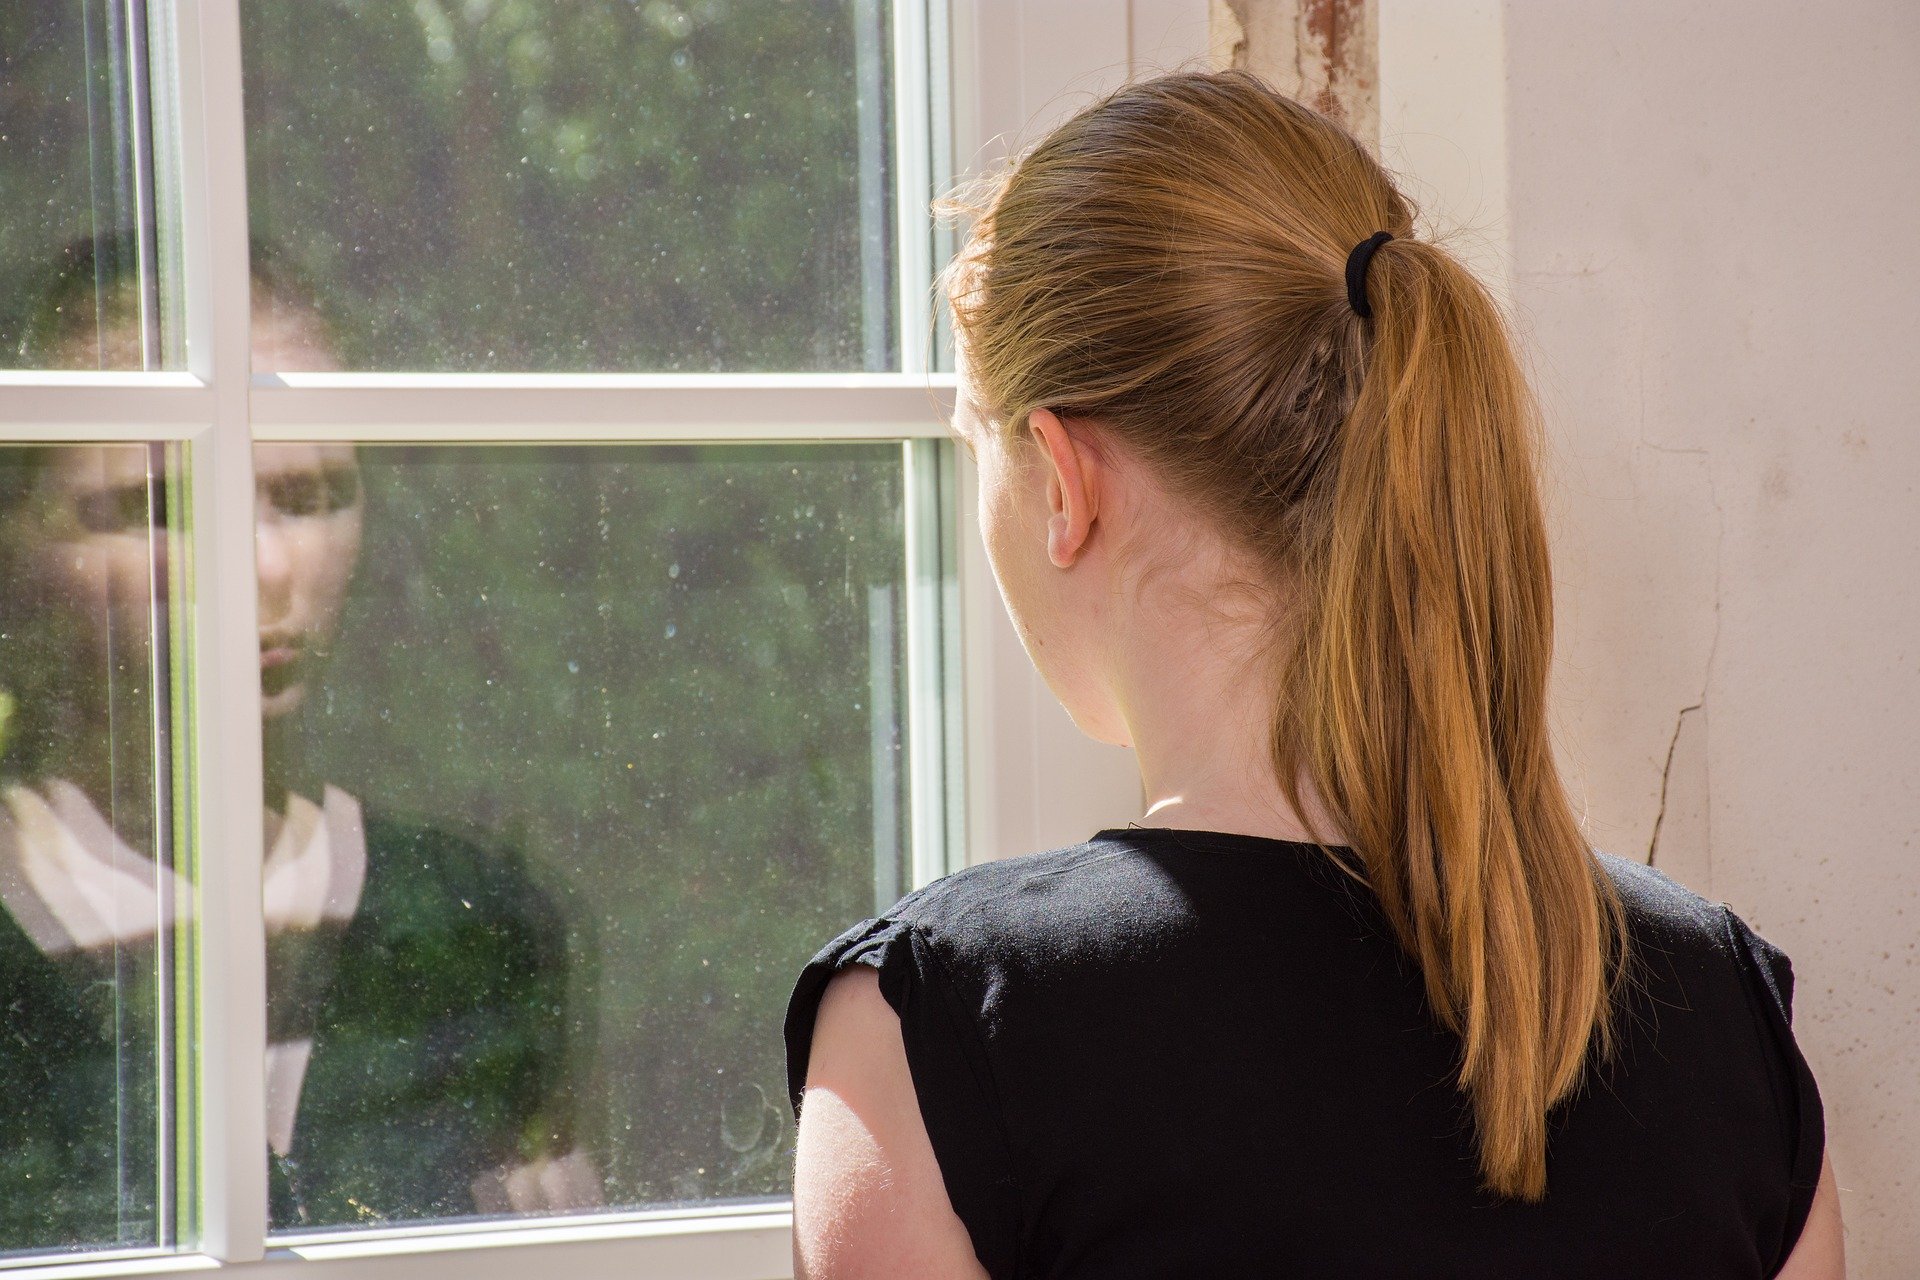
Pictured - A ponytail hairdo | Source: Pixabay
SUPER LONG PONYTAIL
If you want to opt for a fuller and longer ponytail, you need to start with your hair down. The style works best for medium to long and wavy hair. If you don’t have it, then curl it first. Grab two ponytail holders – one standard rubber and one small one.
Gather the hair atop of the head – add some hair on either side from the hair next to your ears, then secure it using the standard rubber band.
Take the rest of your hair and form a second ponytail closer to the bottom of your head. Secure it with the tiny rubber band. Fluff the hair of your top ponytail around so that it covers your bottom ponytail, and you are good to go.
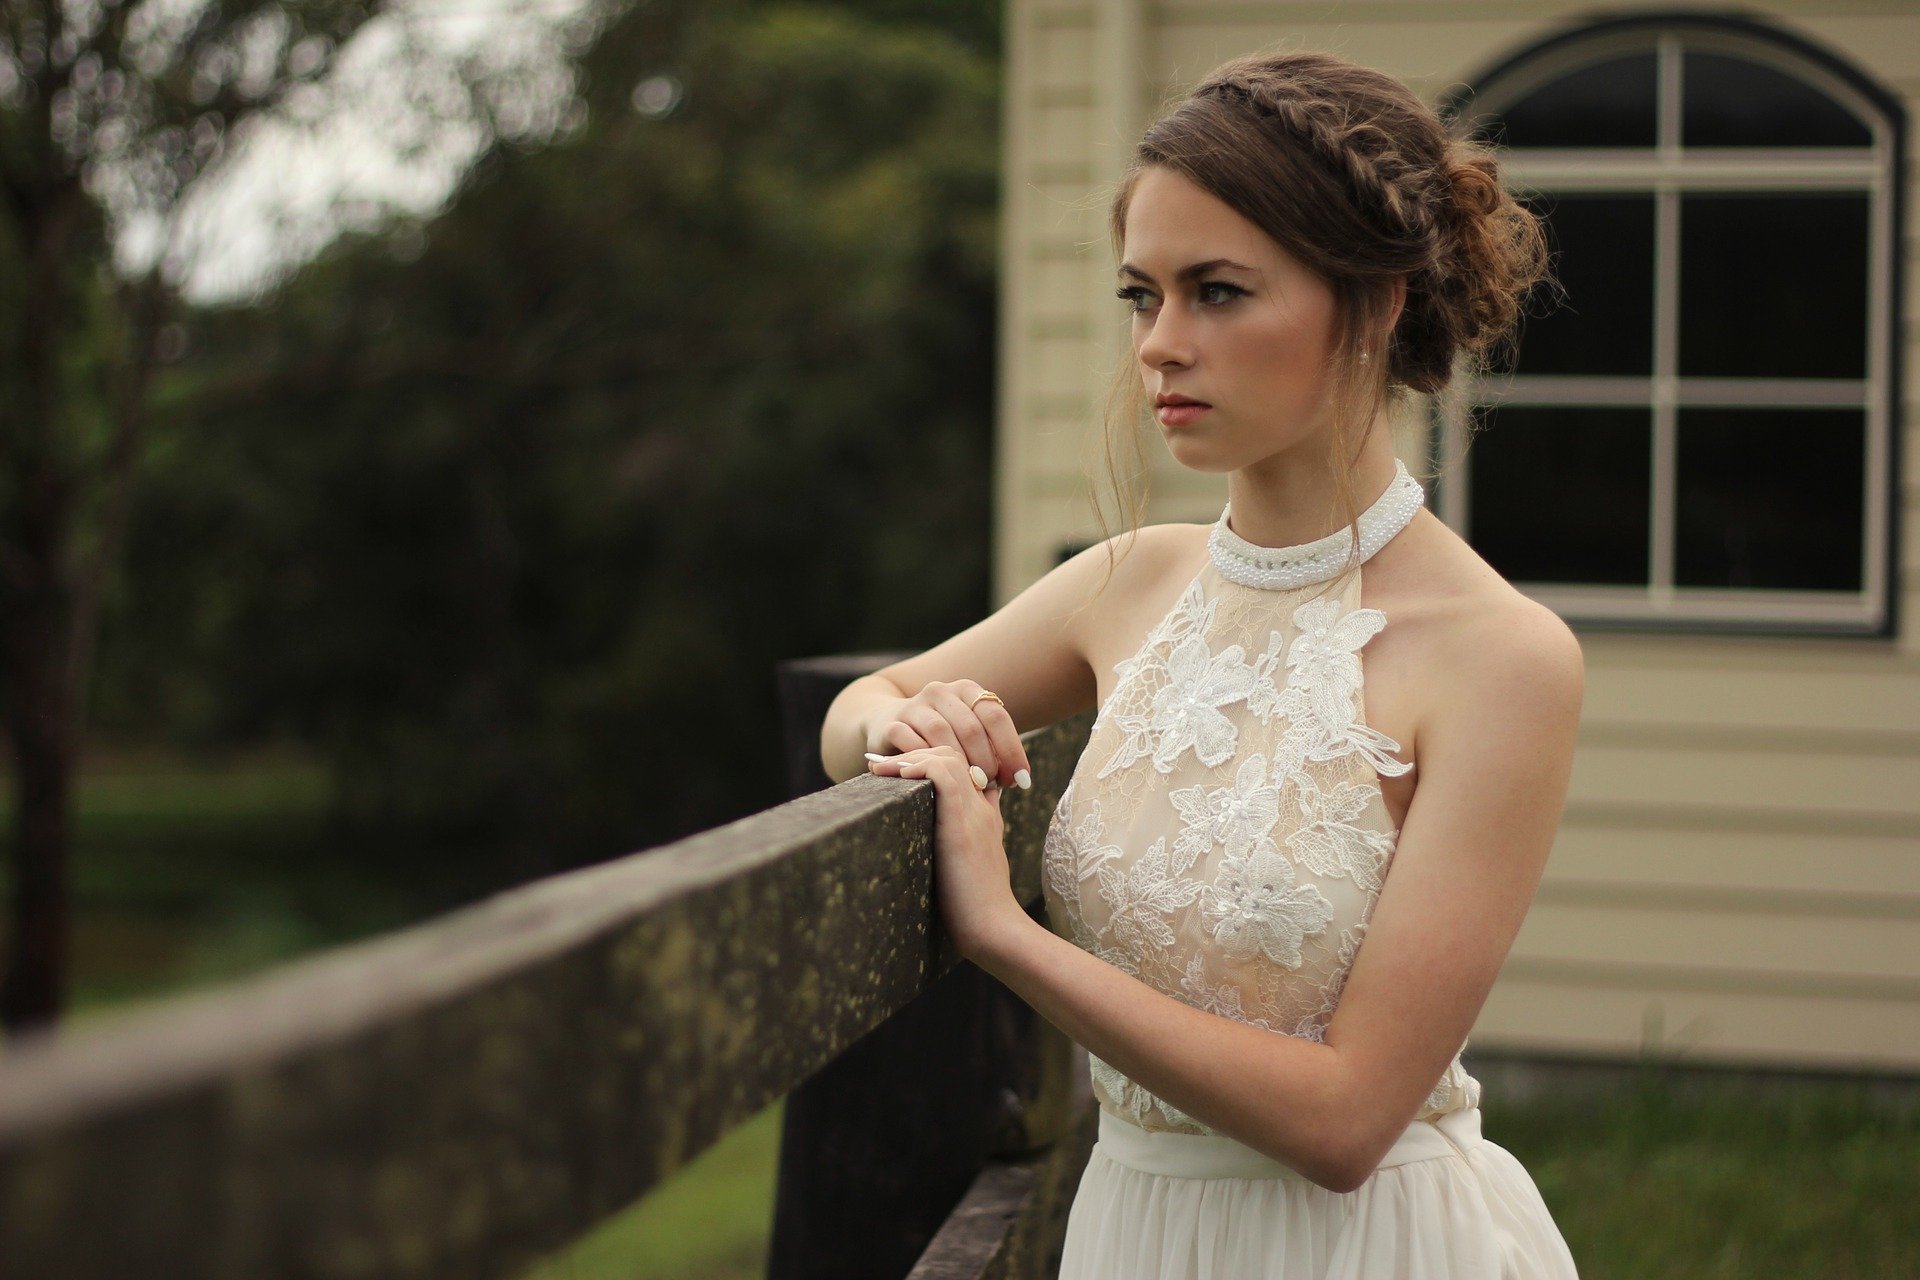
Pictured - A bride rocking a crown braid hairstyle | Source: Pixabay
REVERSE CROWN BRAID
If you want to keep your hair out of your face, then the classic crown braid is your go-to. Start with a large section in the back of one side of the head and begin French braiding that section while adding more hair as you braid around the back.
Continue the process until you have incorporated all of your hair: finish braiding and tie-off. Fold your hair in half and tuck it up into your French braid. Then finally, pin the tucked hair in place and style any loose strands.
PIGTAILS WITHOUT A PART
Brush all your hair back to remove knots. Divide your hair into two equal sections by creating a part that goes down to the back of your head. Use small clear hair elastics to secure them. You can position them low.
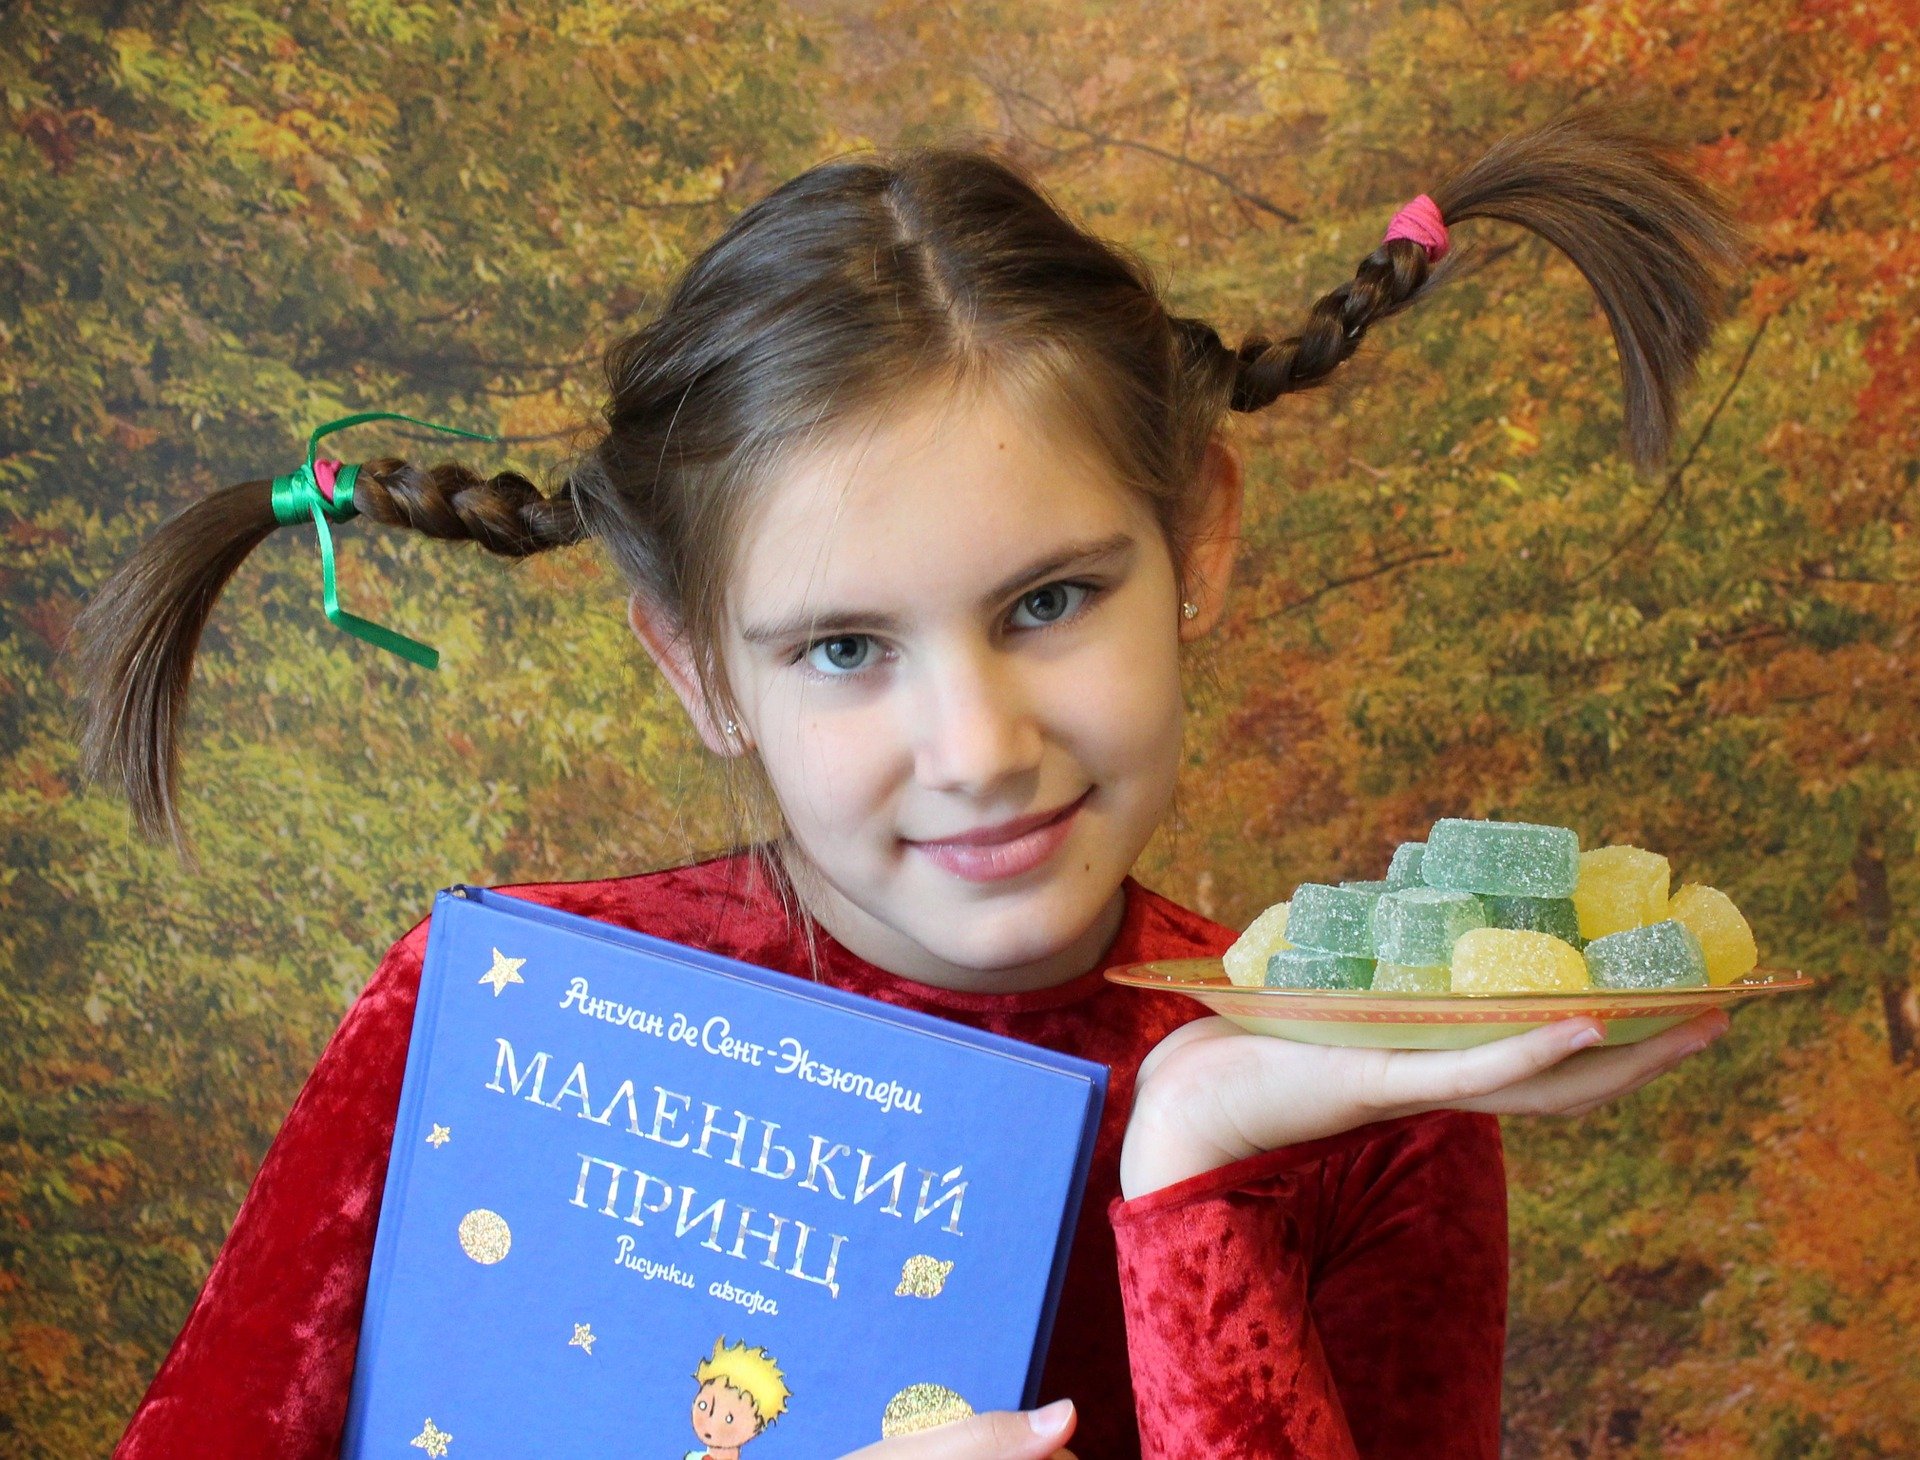
A demonstration of a pigtail hairdo | Source: Pixabay
TUCK & COVER
You can use one or two headbands for the tuck and cover hairstyle, which you can do on medium or long hair. You first lay the headband over the head, then take a section of hair, roll it back, and tuck it into the band.
Take the next section following the same process. Repeat the same steps on the right side of your head. Then to finish it, push the headband back onto your head and fix the front in how you want it to look, and optionally you can hairspray it.
SHORT HAIR TWIST
If you do not have long hair, you can go for a short hair twist by dividing your hair into two parts vertically. Twist the end of the right side of the hair and pin it to the opposite side. Do the same on the left. Further, secure your pins.
CLASSIC BOX BRAIDS & BRAIDED PONY
A half-up hairstyle is commonly known as a protective heat-free style. The option is great for extremely thick locks that may cause a headache when tied up.
You can also have your box braids in a high pony using bungee cords suitable for good tension and flexible sizing. For a looser ponytail, tie two of your braids around the perimeter of the rest and secure with a hairpin at the center of your knot.
