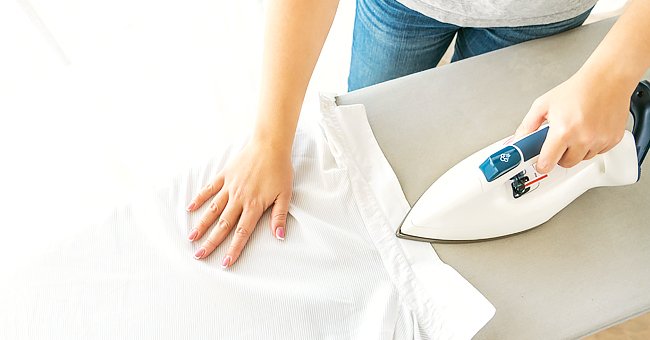
How to Iron a Shirt Properly – Step by Step Tips
Ironing a shirt can be an arduous task that can often feel dreadful. However, with the right tips and hacks, getting rid of those wrinkles on your fabric will be a piece of cake.
Planning to go out and then finding out that your shirt is crumpled can be disappointing. A creased outfit can give a wrong impression. Unfortunately, for many, ironing is often a daunting task.
It is often dreaded because of the effort that goes into it. However, unknown to many, the difficulty of ironing is often multiplied if done wrongly. With the right tips and techniques, you can iron your shirt like a pro.
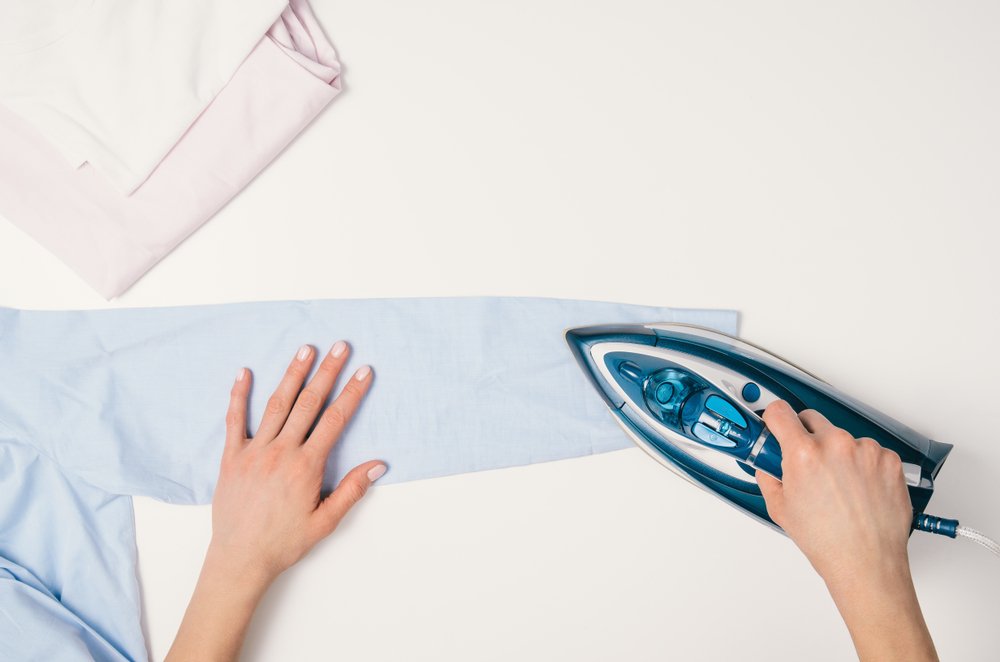
A photo of someone ironning a shirt | Photo: Shutterstock
THE PREPARATION
The first step to knowing how to iron is buying an iron. While this seems straightforward, it is important to purchase irons based on the materials and how many clothes you have to iron.
It is advisable to get irons with a good steam output to make ironing easier. Also, soleplates made of palladium, non-stick, or stainless steel are better than aluminum as they glide better over the fabric.
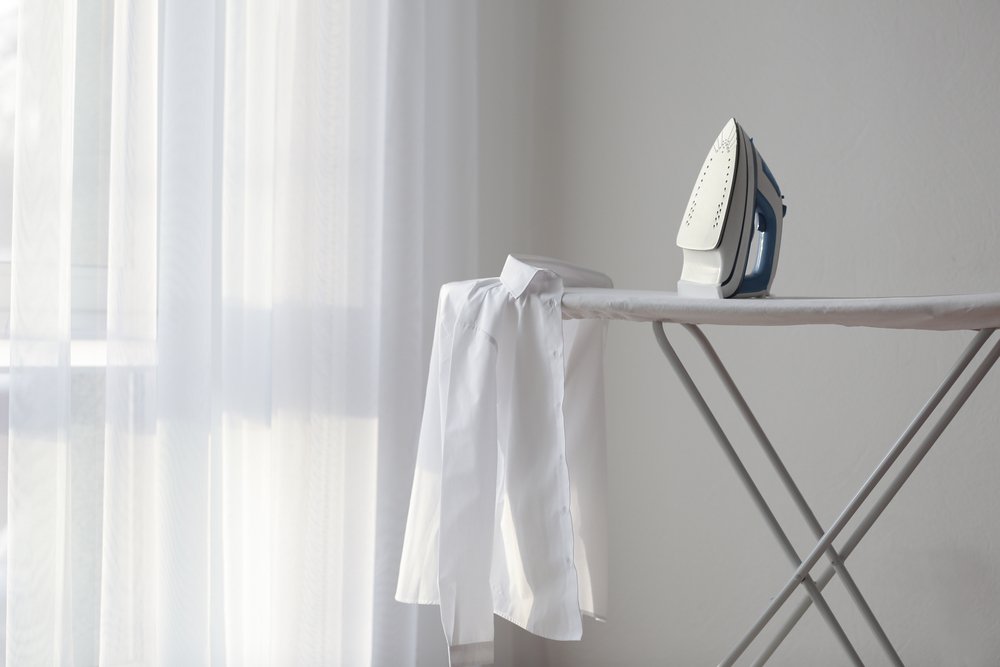
A photo of iron, shirt, and ironing board. | Photo: Shutterstock
Once the iron is sorted, have a sturdy ironing board and set it up. In the case that you’d want to use starch on your shirt, spray it lightly before ironing. Don’t forget to undo all the buttons beforehand.
THE IRONING PROCESS
Set the temperature of your iron based on the material of the shirt, then start ironing. It is best, to begin with, the collar, ironing the inside before going to the outer side. Iron it flat from tip to tip.
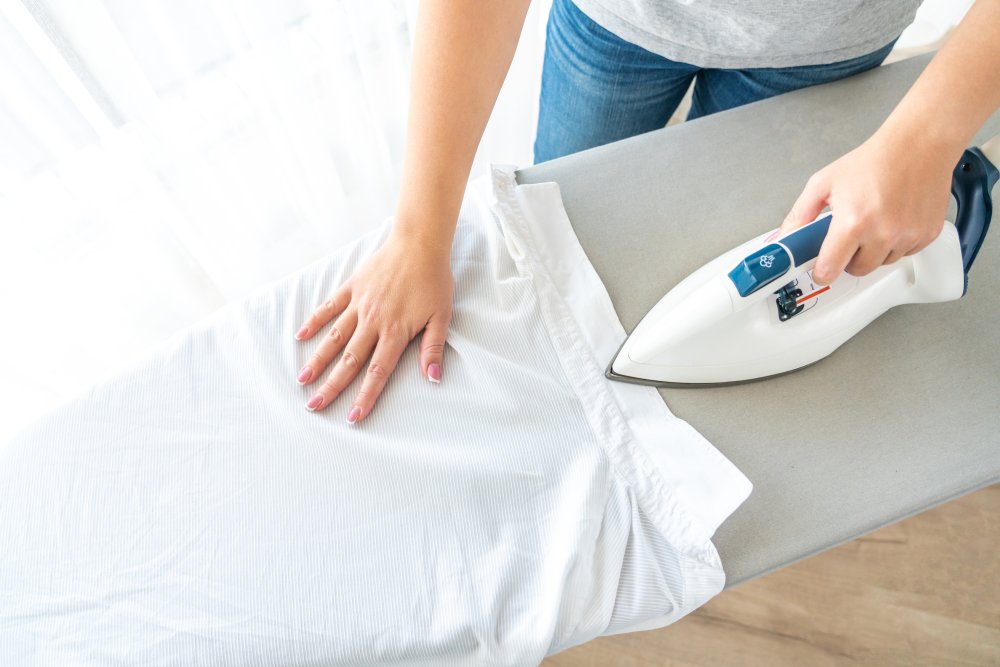
A photo of someone ironing a shirt. | Photo: Shutterstock
Next comes the shoulder panel, rotating the iron to get all the creases. Afterward, move to the cuffs, which are unbuttoned. Just like the collar, iron the inside of the cuffs to remove any lines before going outside.
Move the iron along to the sleeves, placing the shirt lengthways on the board with the cuffs facing up. Iron it downwards, moving from the underarm to the cuff in a straight motion. Make sure to repeat it on the other side.
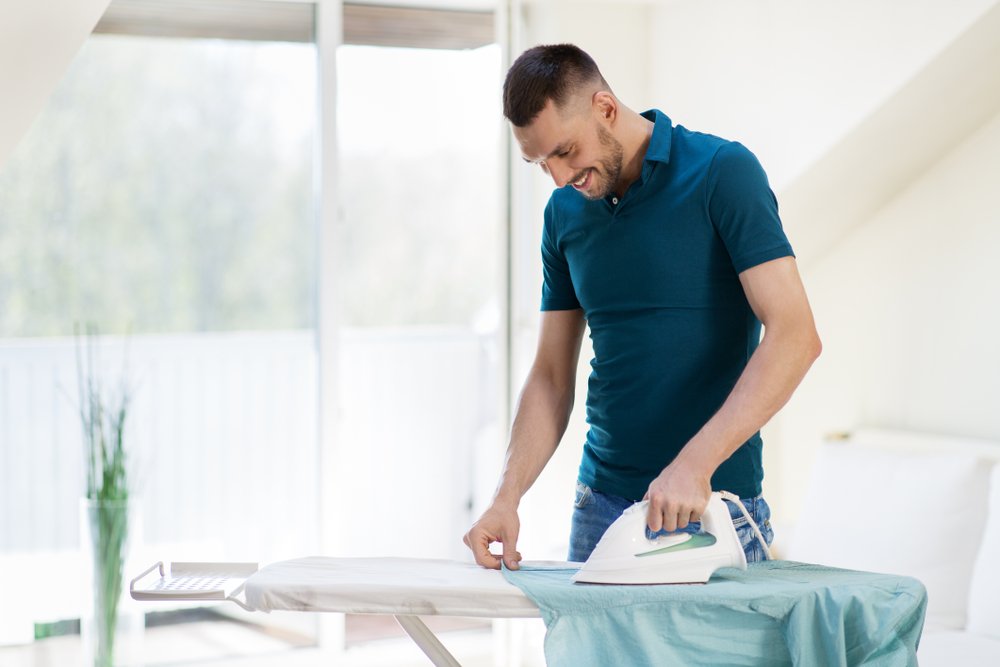
A photo of a man ironing a shirt. | Photo: Shutterstock
Now to the torso area. Starting with the front, place the shirt lengthways, ironing from top to bottom. Avoid ironing over the buttons but go around them, using the pointy ends of the iron.
Iron the back of the shirt in the same manner before going for the insides. Rotate the shirt around the board, making sure to get every crease. Once done, place the shirt on a hanger, folding the collar down, and doing the buttons to the top.
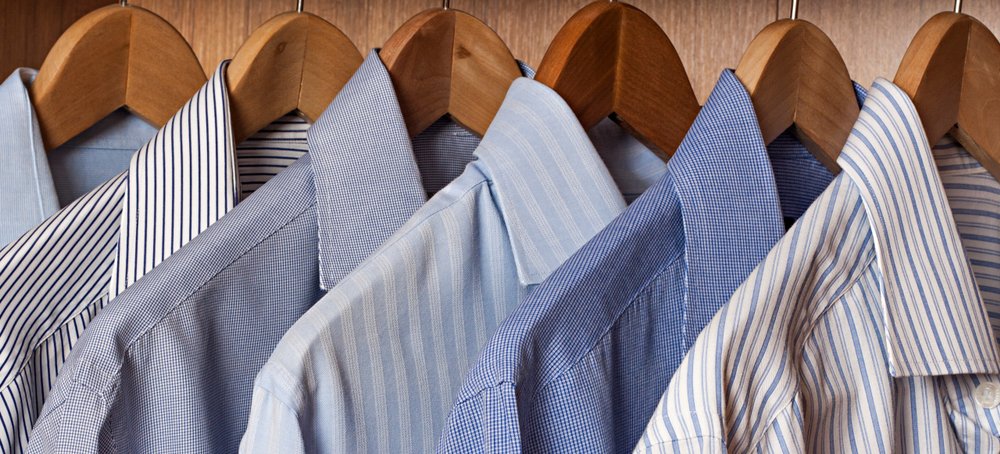
Shirts placed on hangers. | Photo: Shutterstock
IRONING PANTS
Just like with the shirts, first prepare your iron, pants, and board before proceeding. It is advised to start with the top part of the pants ― the waist and rise. Next is the leg of the pants, which is the most tricky part.
To ensure you have a straight crease in the middle, iron one leg at a time. Lay the legs on the board, take the bottom leg, locate the top and bottom center seam, and line them up. Using a clapper makes it easier.
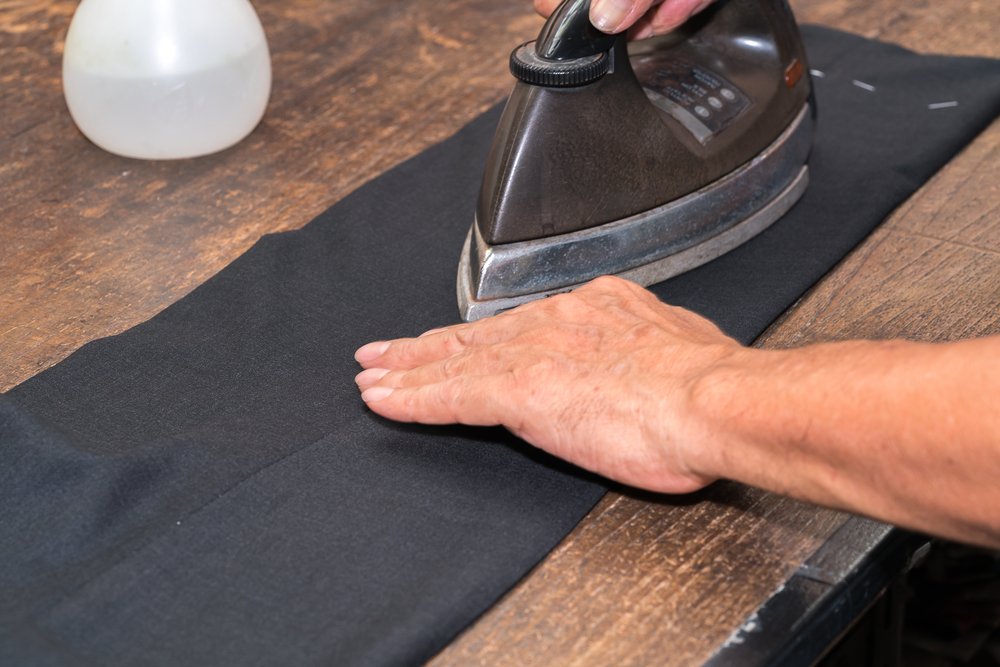
A man ironing pants. | Photo: Shutterstock
Repeat the procedure for the other leg. It is worthy to note that steaming your pant legs can cause wrinkles due to moisture. Instead, apply a light mist before going in with the iron.
